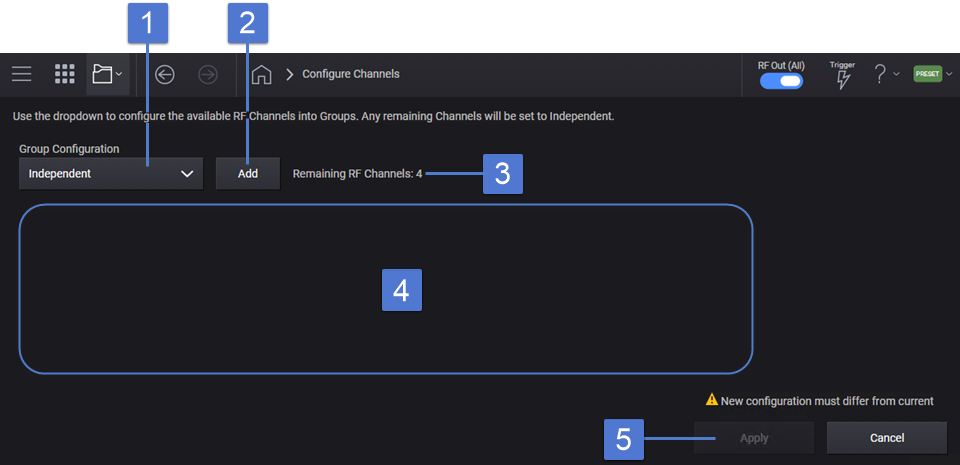
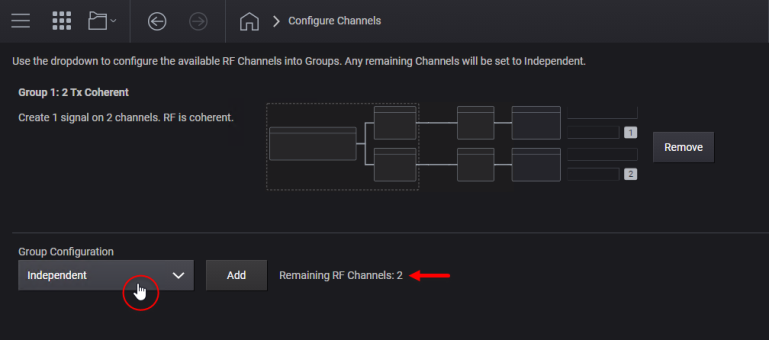
If you have a four-channel instrument (Option 004) with Option PCH, selecting Configure Channels from the System Menu opens the screen shown below.
Tap or click a region in the image below to access a description. See also, Example Four-Channel Configuration below.
Click the Group Configuration drop-down menu. Notice the available configurations for 1 CHANNEL, 2 CHANNELS, and 4 CHANNELS.
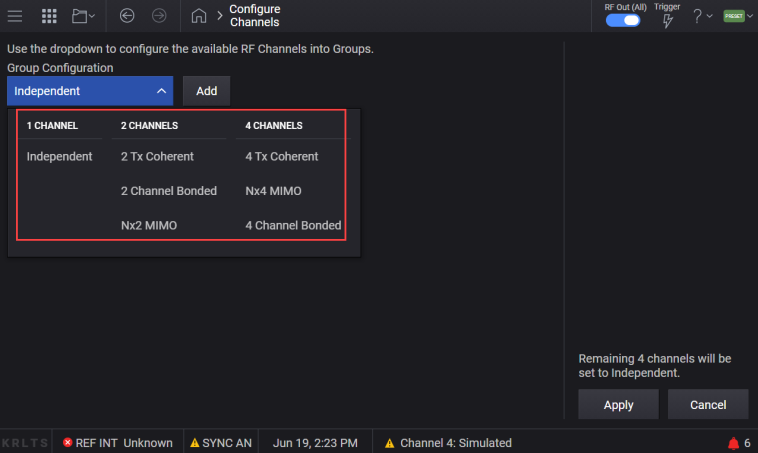
Select 2 Tx Coherent.
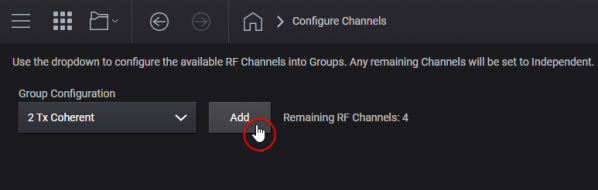
Click the Add button.
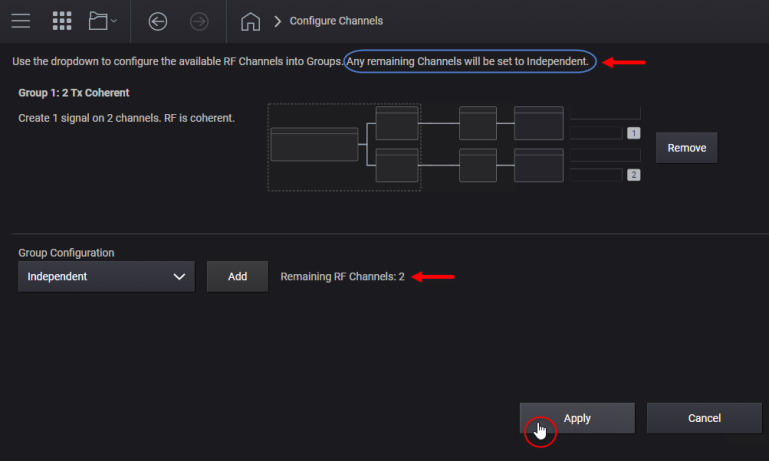
Notice your selected 2 Tx Coherent configuration is represented by a block diagram graphic and is assigned to signal Group 1. Notice also that you now have two remaining RF channels available to configure. Click the Group Configuration drop-down menu again.
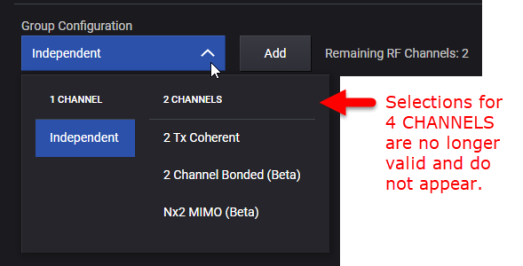
Notice your configuration selections have diminished. The selections for 4 CHANNELS no longer appear because you do not have enough remaining channels for those choices to be valid.
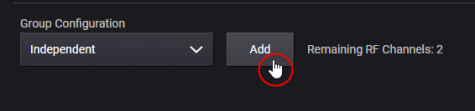
Since 1 CHANNEL Independent is already the default selection, go ahead and add it by clicking the Add button.
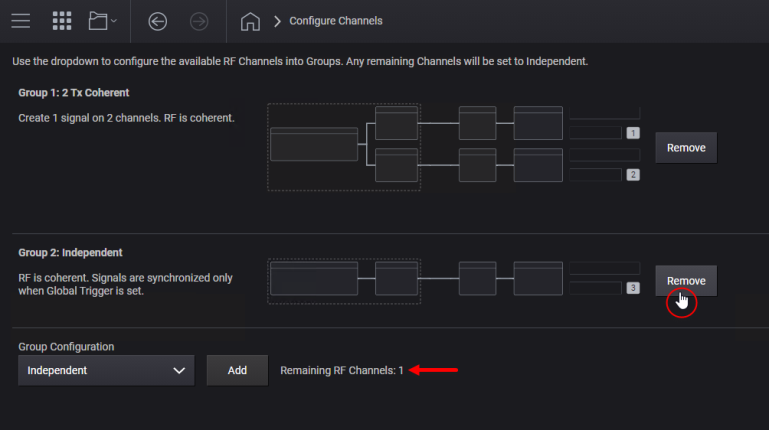
Notice that the Independent configuration has been assigned to Group 2 and that now you only have one remaining RF channel available to configure.
But instead of adding another configuration, click the Remove button for the Group 2: Independent configuration.
Notice that the Group 2: Independent configuration is gone and that once again you have two RF channels available for configuration.
Also notice that the text in the GUI states, "Any remaining Channels will be set to Independent." Click Apply.
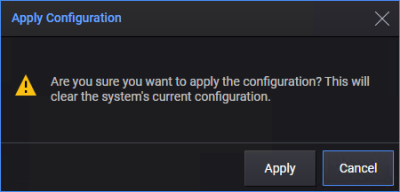
A confirmation dialog appears, reminding you that applying the new configuration clears the current one. Click Apply again.
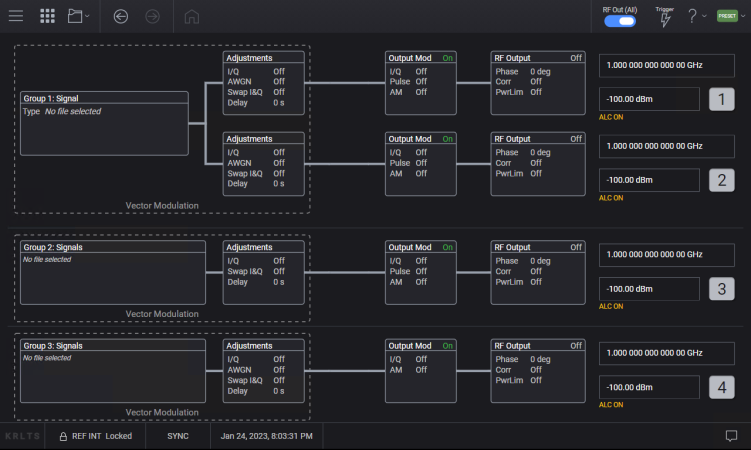
The group configuration selections are applied and you are returned to the main block diagram interface where you can view your overall configuration. Notice that the remaining two RF channels were automatically set to Independent, as indicated.
You can now access various signal groups and blocks to customize your configuration further by uniquely setting specific parameters.